MySQL is a popular database among developers for its excellent performance, scalability, security, and ease of use, all at a low cost. In this tutorial, you will learn how to install MySQL on Ubuntu 22.04. This covers the installation of MySQL server on Ubuntu, basic setup, securing the database, and creating a new user.
What is MySQL Server?
MySQL, a key part of the LAMP (Linux, Apache, MySQL, PHP) stack, is a widely used open-source database management system that has powered major web applications for nearly two decades. It offers various storage engines, such as InnoDB for ACID-compliant transactions and MyISAM for lightweight, read-heavy use cases.
MySQL also supports replication for data security, scalability, and long-distance distribution.
Prerequisites
Before starting this tutorial, ensure you have:
- The latest version of the Ubuntu server is installed.
- A user account with sudo privileges.
How to install MySQL on Ubuntu 22.04?
We'll begin by updating system packages, and then proceed with installing mysql Ubuntu, configuring, and securing it. After that, we'll create a new database and user with specific privileges. Finally, we'll cover basic MySQL service management. Let's get started!
To install the MySQL server on Ubuntu 22.04, follow the below steps:
Step 1: Update or Upgrade System Packages
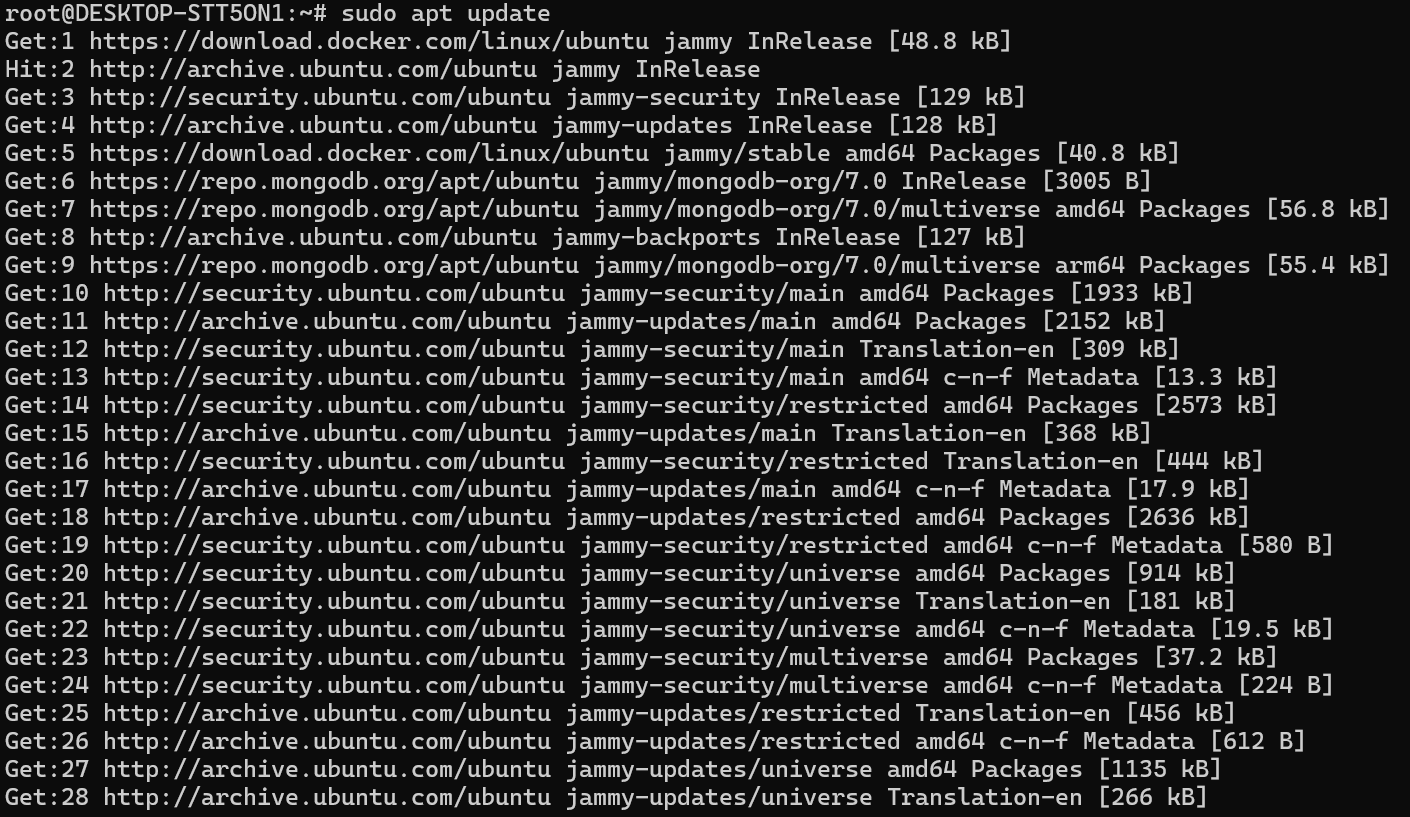
Start by updating the package list and upgrading the existing packages using this command:
# sudo apt update
# sudo apt upgrade
Step 2: Install MySQL on Ubuntu 22.04 (MySQL Ubuntu)
Once the system is updated, install MySQL on Ubuntu 22.04 from its repository using the below command:
$ sudo apt install mysql-server -y
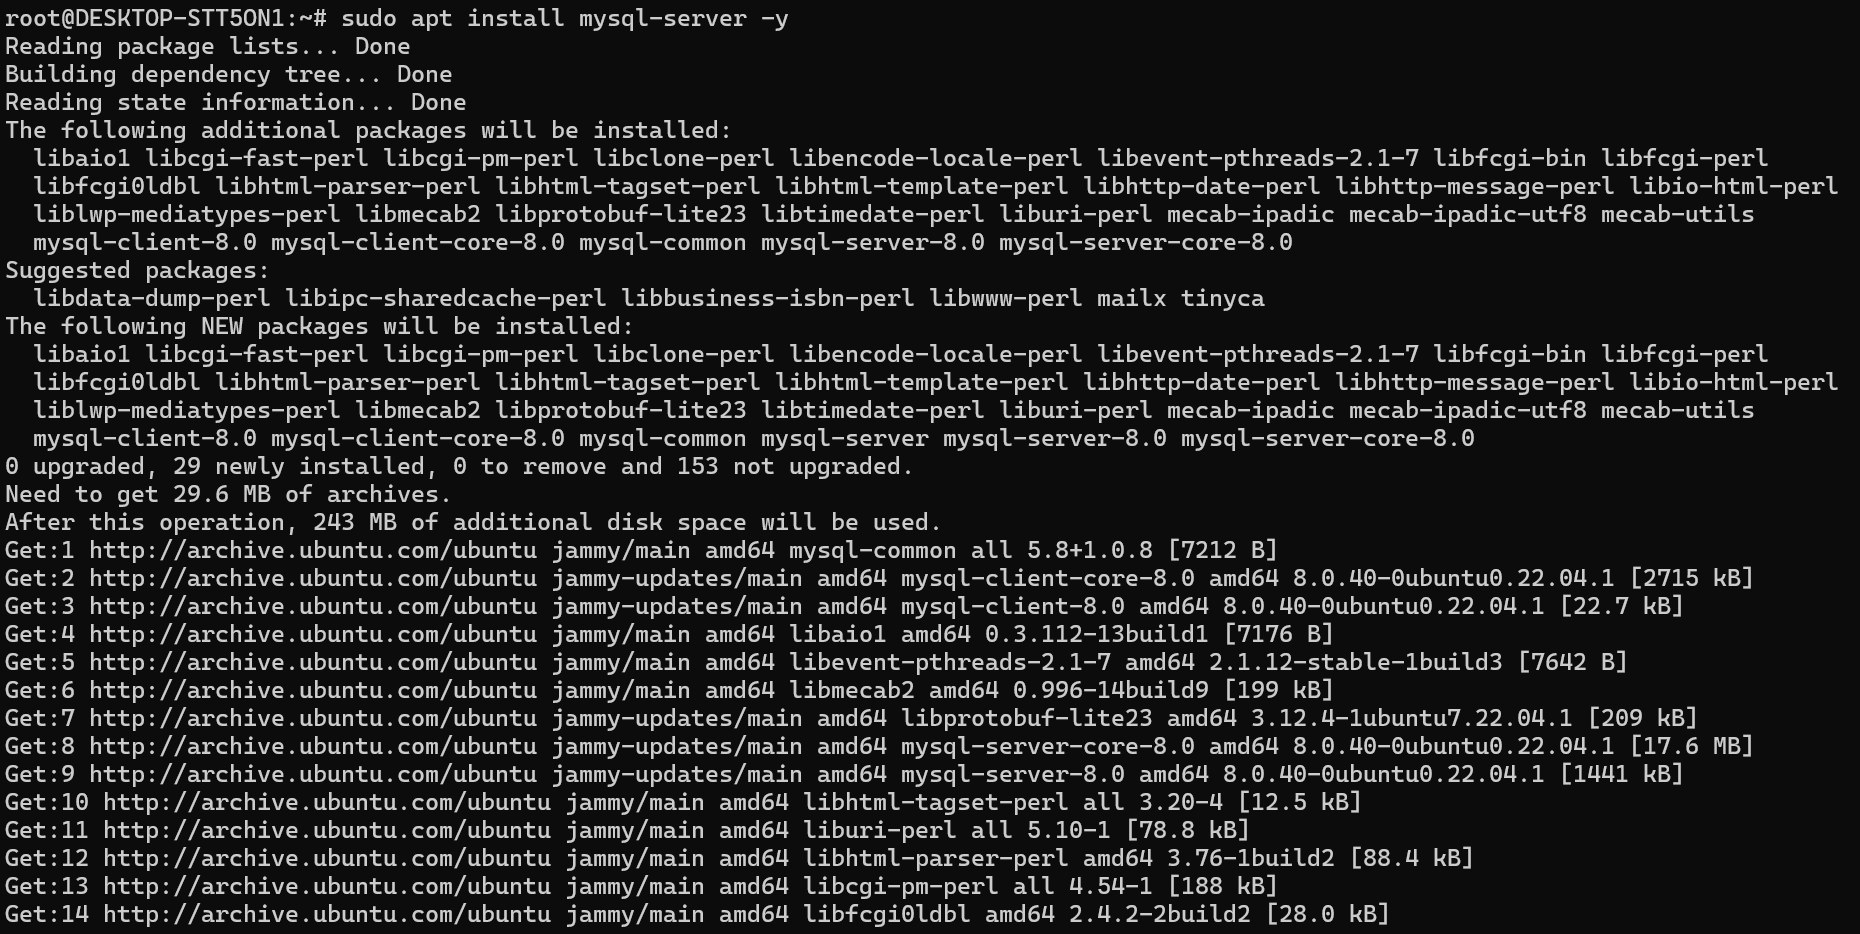
This command installs both the MySQL server and the Ubuntu MySQL client. The -y flag automatically confirms the installation process, saving you from manually accepting it. After completing the installation, you will see the following output on the terminal window:

Check the MySQL version using this command:

Above we explained how to install MySQL on Ubuntu 22.04. Now, we will see how to enable and start MySQL on Ubuntu.
Step 3: Start the MySQL Server on Ubuntu
After installing MySQL, start the service with the command:
$ sudo service mysql start
$ sudo service mysql stop
$ sudo service mysql restart
To verify that MySQL is running, check its status using:
$ sudo service mysql status
If successful, you’ll see that the MySQL service is active and running.

Step 4: Setup MySQL Server Ubuntu
In this step, we’ll set the initial MySQL root password on Ubuntu 22.04. By default, MySQL’s root account has no password, so we’ll set one now for added security. This step is also required before running the MySQL secure installation script.
First, connect to the database using the Ubuntu MySQL client:

After connecting, set a password for the root account with the following command:
ALTER USER 'root'@'localhost' IDENTIFIED WITH mysql_native_password BY 'mypassword123';

Once the password is set, you’ll no longer be able to connect to MySQL using just the sudo mysql command.
Step 5: Secure MySQL Server Installation
To secure your MySQL installation, run the following command:
$ sudo mysql_secure_installation
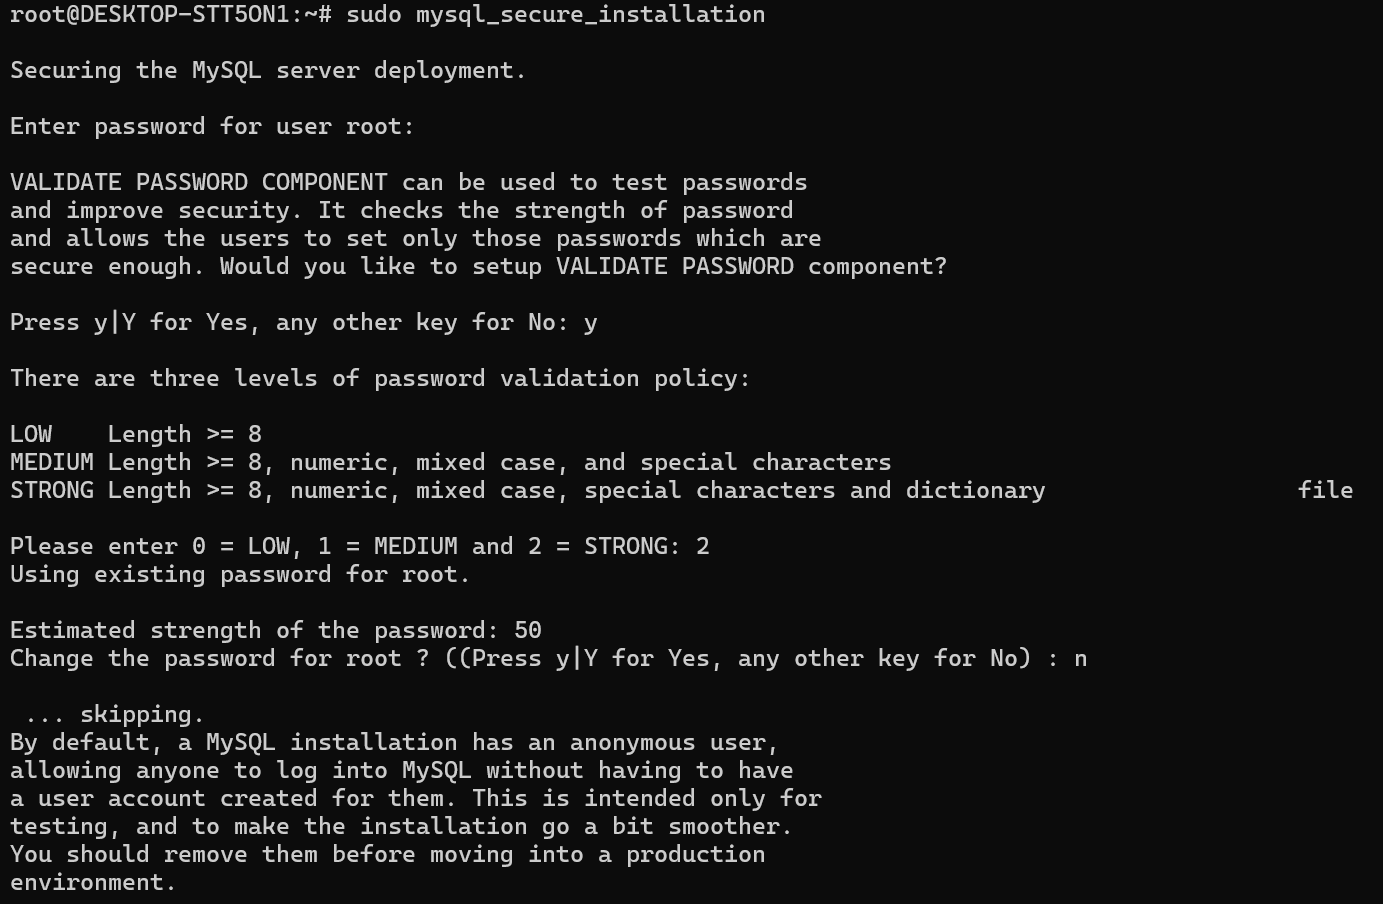
This script will prompt you with several questions. Answer them according to your preferences to enhance the security of your MySQL setup.
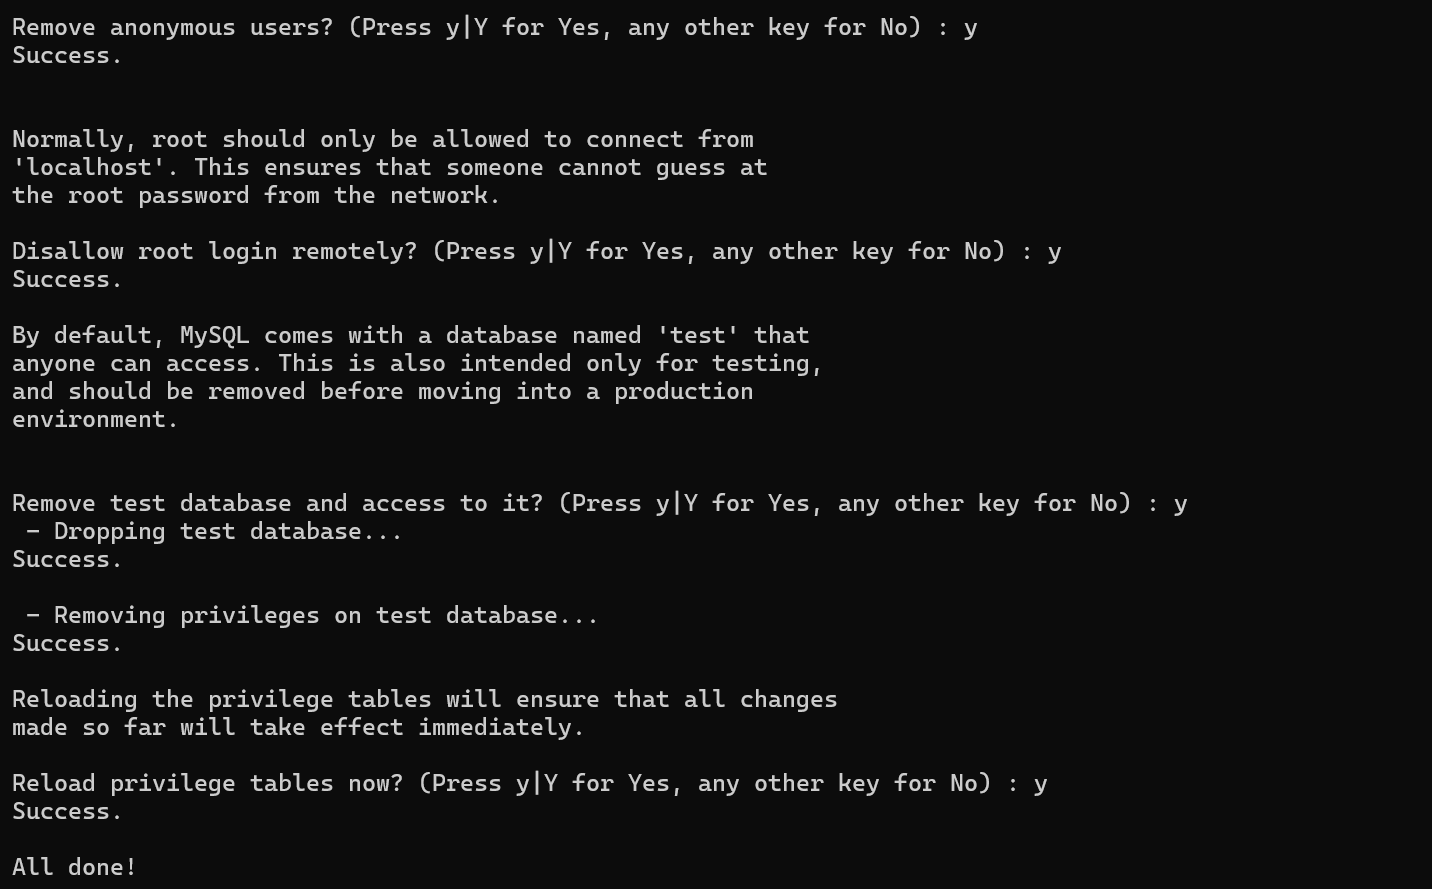
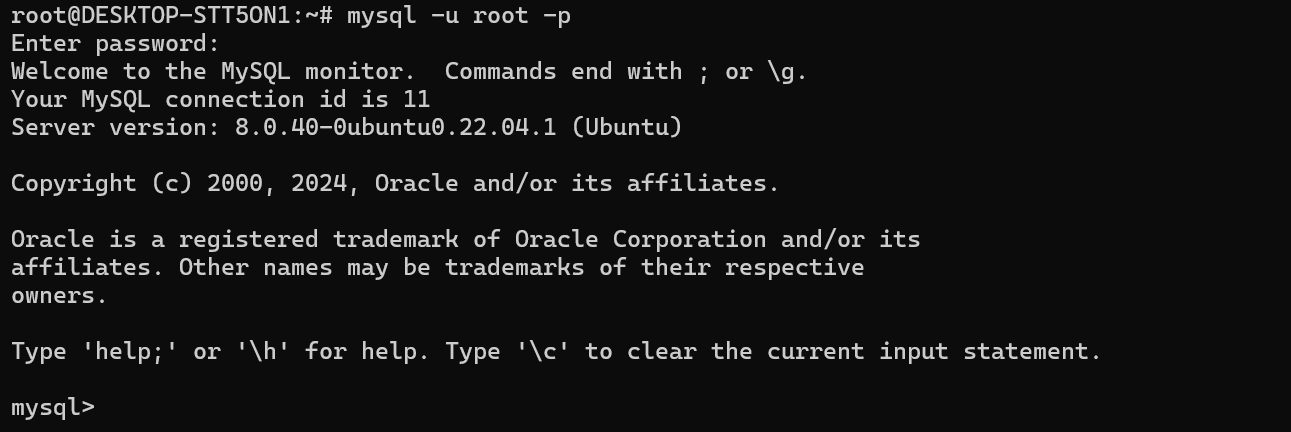
Now, reconnect again with the MySQL server using the new password:
Enter the password and you will see the MySQL shell environment:
Step 6: Add a New User to MySQL
Now that MySQL is installed, it's a good practice to create a new database user for your applications. Here's how to create the user:
Create the user with a strong password:
CREATE USER 'testUser'@'localhost' IDENTIFIED WITH mysql_native_password BY '%$HmbKe#XeVtn8i%mX$Ha&v2on%crUWc';
Use % instead of localhost if you want the user to connect from anywhere (though this is less secure).

Refresh privileges to apply changes:

This ensures the new user is immediately ready to use.
Step 7: Create a Database and Grant Privileges
Next, create the database and assign privileges to the user:
Create the database:
> create database mytestapp;
Grant all privileges to the user on this database:
> grant all privileges on mytestapp.* to 'testUser'@'localhost';
This allows the user to fully manage the “mytestapp” database.

Conclusion
We demonstrated in this tutorial how to install MySQL on Ubuntu 22.04, an important part of the LAMP stack for web applications. For more detailed information, refer to the official MySQL documentation.
Looking for reliable VPS hosting or SSL services? Host World offers top-quality solutions with 99.9% uptime, multilingual support, and global server availability. Get started with us today!


